Make a PO (purchase order)
A PO tells a vendor exactly what you are ordering, and at what rate. It is made inside a project, for one vendor, and prints on your letterhead.
1Start the PO
In the project’s Money tab, open POs & costs and choose New PO. Pick the Vendor, write What the order is for, like “Plumbing, two bathrooms”, and choose Start the PO.
2Fill it in
Set the PO date, Needed by and Deliver to. Under Items, give each line a description, unit, quantity and rate; + Add an item adds another. The page on the right shows what the vendor will get, and a draft saves itself as you type.
3GST and terms
Under GST and terms, choose the GST rate, or No GST (the vendor isn’t registered). Write your terms one per line, like “Advance 30%, balance on delivery”.
4Issue it
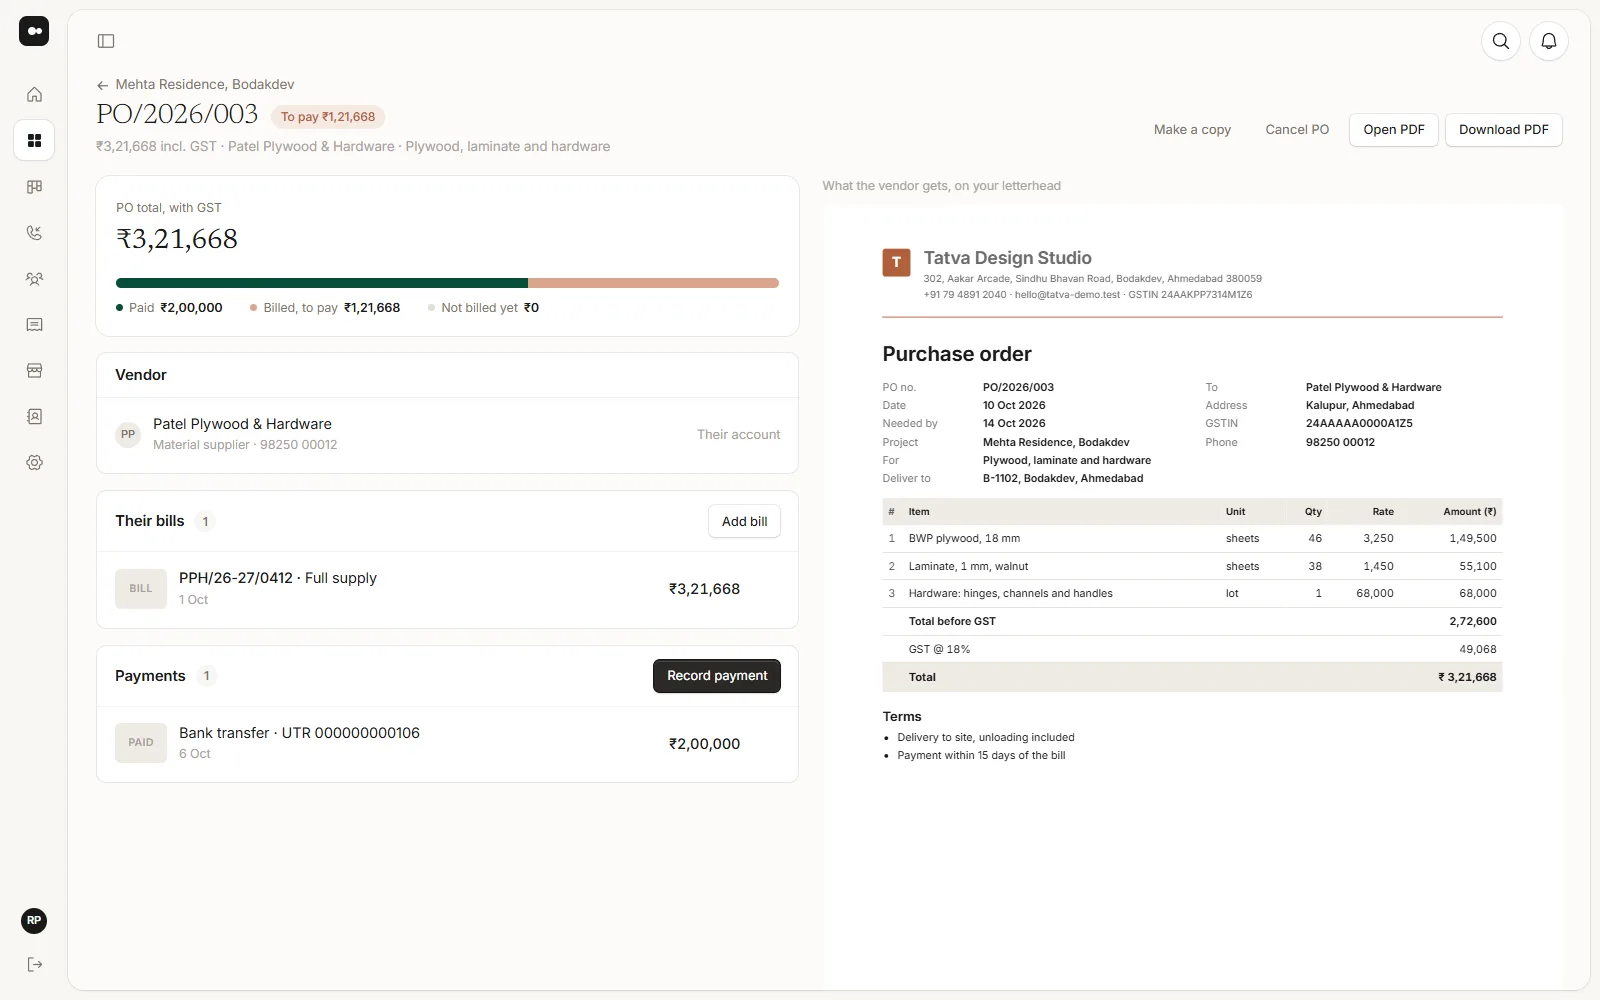
Choose Issue PO. It gets the next number in the year’s series, like PO/2026/003, and can’t be edited after this. Then choose Download PDF and send it to the vendor yourself, on WhatsApp or by email.
5If something changes
Make a copy starts a new draft with the same items. Cancel PO keeps the number, marked cancelled, with your reason. A draft can simply be deleted; drafts don’t use up a PO number.